Adding photos to your space can help your space and facility stand out from the crowd. It is recommended that you upload recent photos that give a clear look at your space and amenities. Note: photos cannot exceed 1MB in size.
...
- After you create a space, you are directed to the space page where you can add availability, view upcoming bookings, and add photos. Find the "Photos" section on the right hand side of the page and select the pencil icon
 to add photos.
- On the Photos page you can begin by selecting the "Add Photos"
 button button. You will then see a window appear with a few options. On the top of the window, you can choose from Upload and Select From Facility. To upload a new photo, click the grey photo box to bring up your documents and photos from your computer. Select an appropriate photo for your space and press open note: photos cannot be larger than 1mb.


- After choosing your photo you will receive a notification telling you that the photo has been successfully added. Press Ok to continue.

- If you would like to remove a photo at any time, click in the box in the upper right hand corner of your uploaded photo and then click "Remove selected images".

- If you would like to add additional photos at any time, follow steps 2 and 3.
...
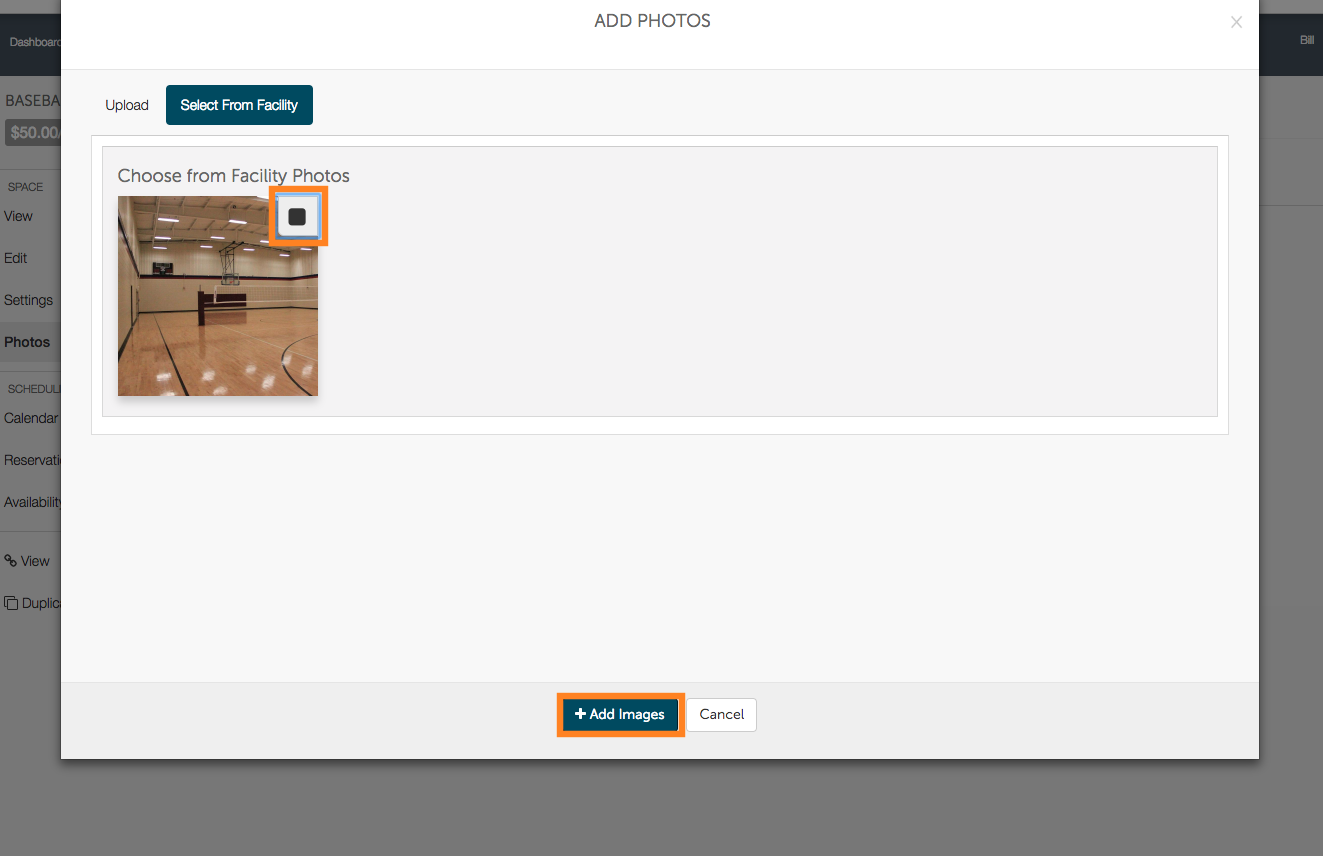
From the Photos page, begin by selecting the "Add Photos" button. You will then see a window appear with a few options. On the top of the window, you can choose from Upload and Select From Facility. To upload a previously uploaded photo, click on "Select From Facility" to see photos that have been already uploaded. From the photos, choose the one you would like to add to your space by selecting the box in the upper right hand corner of the preexisting photo and click "Add Images"
 when finished.
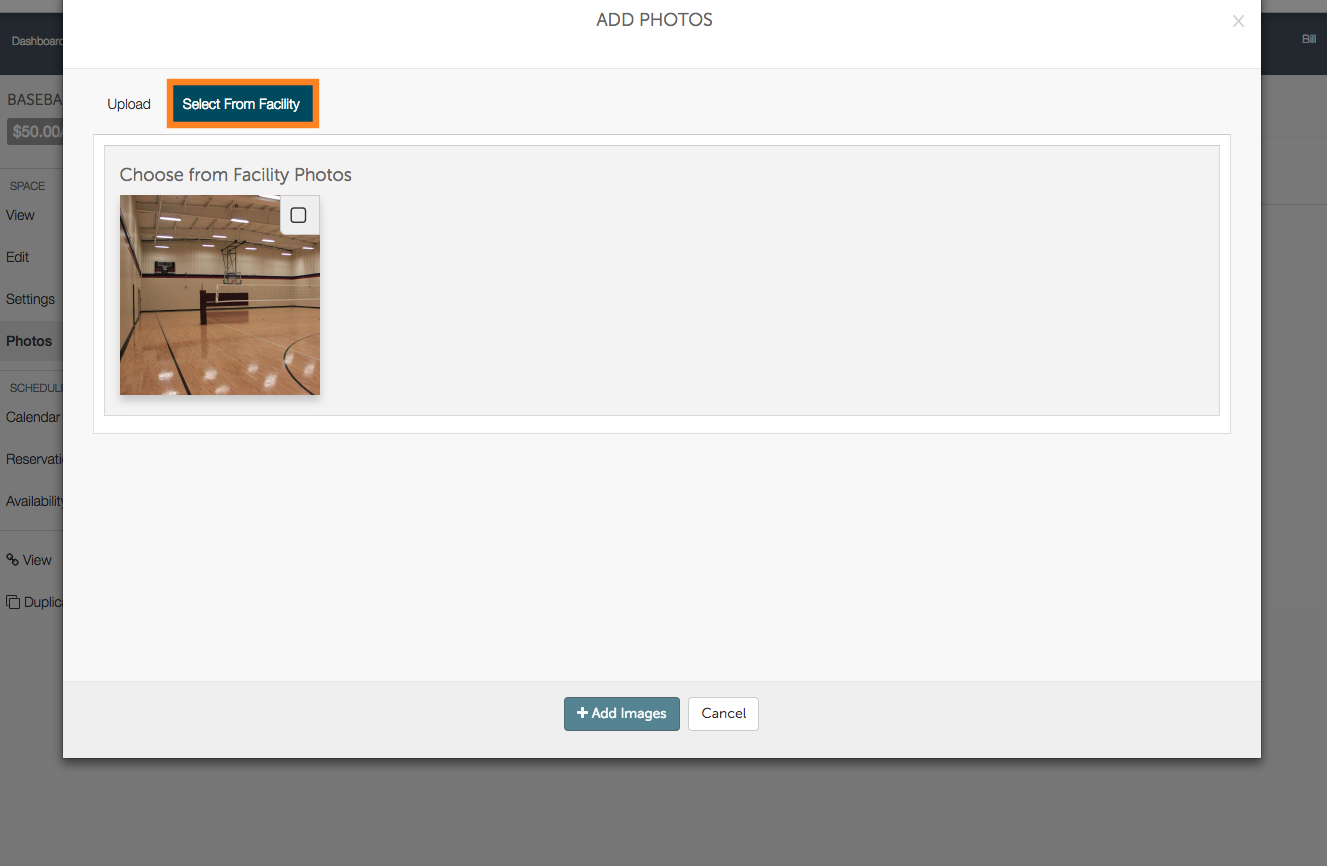
- A green notification window will appear in the bottom left hand corner of the screen, notifying you of the successful upload.
.png?version=1&modificationDate=1512674464977&cacheVersion=1&api=v2&width=350)
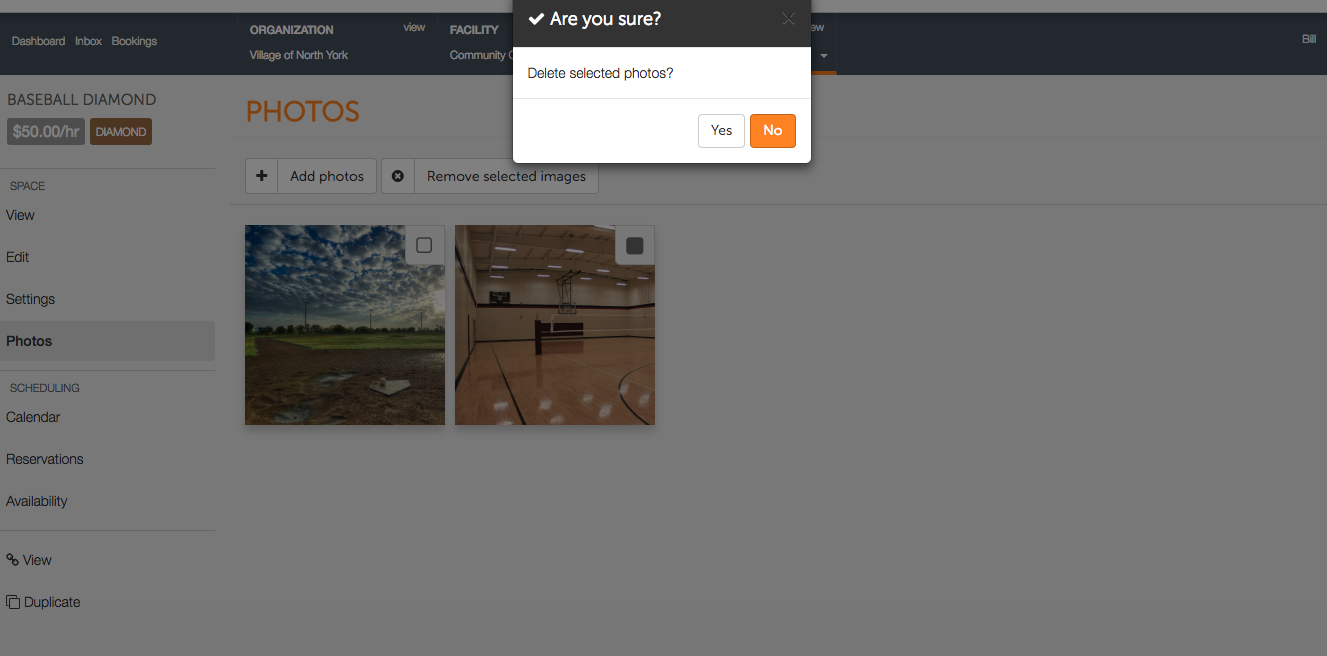
- If you would like to remove a photo at any time, click in the box in the upper right hand corner of your uploaded photo and then click "Remove selected images". You will then be asked if you are sure you would like to delete the selected photo. If you would indeed like to delete the photo, select
 select Yes.
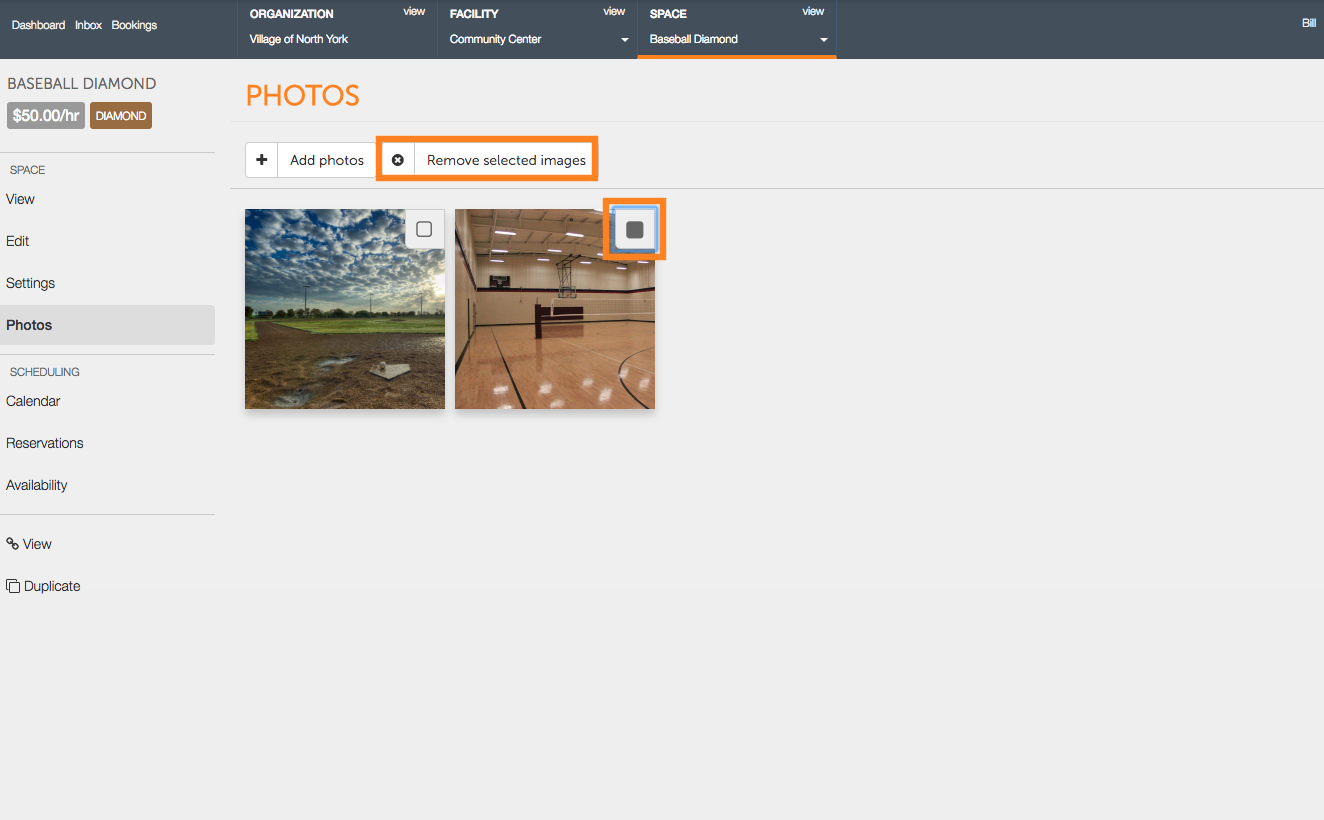
- A save success box will briefly be displayed at the bottom of the page to confirm that photo(s) were successfully removed.
.png?version=1&modificationDate=1512674972838&cacheVersion=1&api=v2&width=350)
- If you would like to add additional photos at any time, follow steps 1 and 2.